Table of Contents
Do you want to create a show-stopping cake that wows everyone? A Barbie cake is the perfect choice! It’s not just a cake—it’s a work of art that combines baking and creativity. Let’s dive into this fun, step-by-step guide to make your very own Barbie cake.
What is a Barbie Cake?
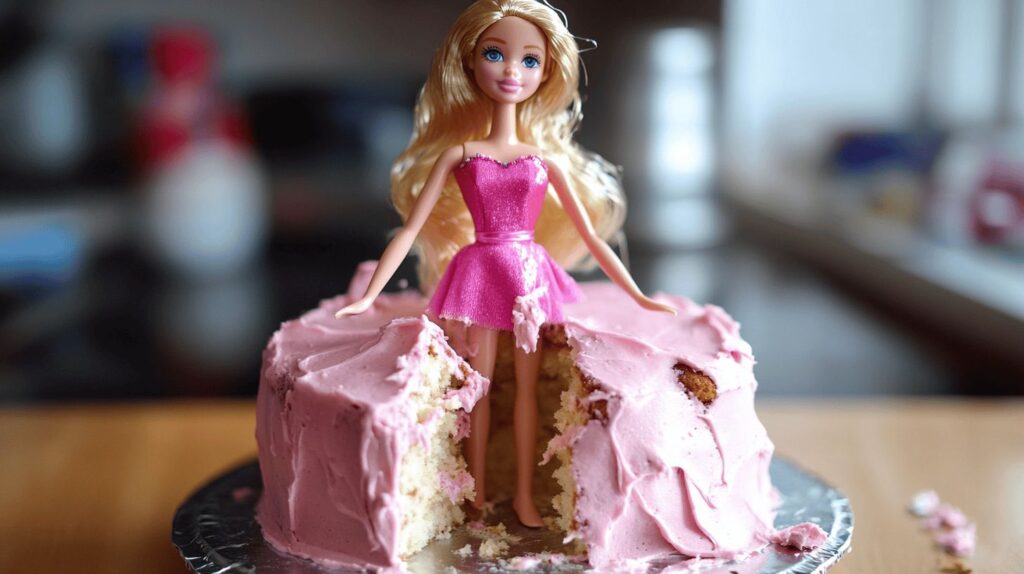
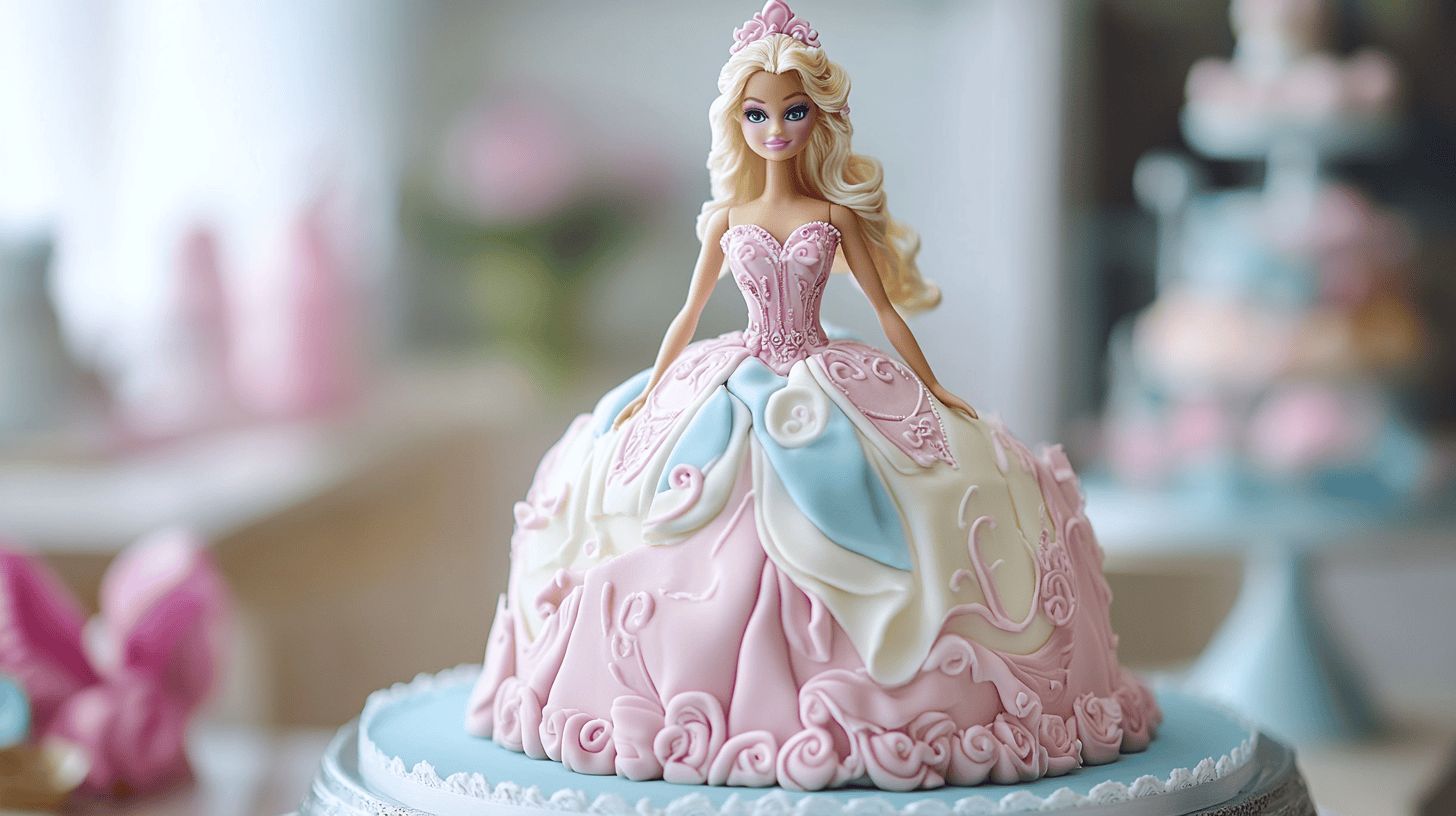
A Barbie cake is a creative dessert shaped like a ball gown with a Barbie doll placed in the center. The cake forms the skirt of the doll, and you can decorate it in any theme or color you like. It’s super popular for birthdays and special celebrations, especially for kids who adore Barbie.
Why Are Barbie Cakes Popular?
Why are these cakes a hit? They’re a perfect blend of imagination and sweetness. Barbie cakes make any event magical, and let’s be real—who wouldn’t love a princess-like cake centerpiece? 🎀 Plus, they’re customizable for different themes and occasions, making them an ideal choice for any celebration.
Essential Tools and Ingredients for a Barbie Cake
Before jumping into the baking process, let’s make sure you have all the essentials ready. It’s like preparing your art supplies before starting a masterpiece!
Tools You’ll Need
Here’s your toolbox for making the perfect Barbie cake:
| Tool | Purpose |
|---|---|
| Cake pans | To bake the cake layers. |
| Mixing bowls | For mixing batter and frosting. |
| Offset spatula | To spread frosting evenly. |
| Serrated knife | To trim and shape the cake. |
| Rolling pin | For working with fondant. |
| Piping bags & tips | For detailed decorations. |
| Turntable | To make decorating easier. |
Pro Tip: Use a dome-shaped pan for the skirt to save time on carving!
Key Ingredients for Baking and Decorating
Now, let’s gather the magic ingredients:
| Ingredient | Quantity |
|---|---|
| All-purpose flour | 2 ½ cups |
| Sugar | 2 cups |
| Baking powder | 2 teaspoons |
| Butter (softened) | 1 cup |
| Eggs | 4 large |
| Milk | 1 cup |
| Food coloring | As needed |
| Fondant or frosting | For decoration |
Nutrition Facts
Serving size: 1 slice (approx. 100g)
Calories: 300 | Fat: 12g | Carbs: 42g | Protein: 3g
Step-by-Step Guide to Making a Barbie Cake
Here comes the fun part—making the actual cake! Roll up your sleeves, and let’s get started.
Preparing the Cake Base
- Preheat the oven to 350°F (175°C). Grease and flour your cake pans to prevent sticking.
- Mix the dry ingredients: In a large bowl, whisk together the flour, baking powder, and a pinch of salt.
- Cream the butter and sugar: In another bowl, beat the butter and sugar until it’s light and fluffy. Think of it as the foundation of your cake!
- Add the eggs: One at a time, mix in the eggs. This step adds structure to your cake.
- Combine wet and dry ingredients: Gradually add the dry mixture and milk alternately, starting and ending with the dry mix. Mix until smooth.
- Add food coloring: Want a pink gown? Add a few drops of pink food coloring to the batter and mix until evenly colored. 🌸
- Bake the cakes: Divide the batter evenly among the pans and bake for 25–30 minutes. Use a toothpick to check if it’s done.
“Remember, a perfectly baked cake is the key to a stunning Barbie cake!”
Assembling the Layers
- Cool the cakes completely before assembly. Warm cakes can ruin your frosting!
- Trim the layers: Use a serrated knife to level the tops and create a flat surface.
- Stack the layers: Start with the largest layer at the bottom. Spread frosting between each layer for stability.
- Carve the skirt: Use a knife to shape the stacked cake into a dome resembling a gown.
Creative Decoration Ideas for Barbie Cakes

Here’s where you let your creativity shine! Decorating a Barbie cake is like dressing up a Barbie doll—you can let your imagination run wild. 💖
Popular Themes for Barbie Cakes
- Princess Barbie: Add edible pearls and gold accents for a royal look.
- Fairy Barbie: Decorate with pastel colors, edible glitter, and butterfly toppers. 🧚♀️
- Mermaid Barbie: Use shades of blue and green with fondant seashells.
Using Fondant vs. Buttercream: Pros and Cons
| Aspect | Fondant | Buttercream |
|---|---|---|
| Finish | Smooth, polished | Soft, creamy |
| Flexibility | Great for intricate details | Easier to spread |
| Taste | Slightly chewy | Rich and sweet |
Pro Tip: If you’re new to cake decorating, buttercream is more forgiving than fondant.
Decorating Techniques for a Barbie Cake
Now that your Barbie cake is assembled, it’s time to give it that “wow” factor! Think of this as designing a glamorous gown for Barbie. Ready to unleash your inner cake designer? Let’s go!
Creating a Smooth Base
- Crumb coat the cake: Apply a thin layer of frosting all over the cake. This seals in crumbs and provides a smooth base for further decoration.
- Chill the cake: Pop it in the fridge for about 20–30 minutes. A chilled cake is much easier to work with.
- Add a second coat of frosting: Spread a thicker, even layer of frosting using an offset spatula. Smooth it out with a bench scraper for a polished look.
“Pro Tip: A smooth base is like a blank canvas—it makes every decoration pop!”
Draping the Fondant
If you’re using fondant, here’s how to make it flawless:
- Roll out the fondant: Dust your work surface with powdered sugar and roll out the fondant into a large circle.
- Drape it over the cake: Carefully lift the fondant and drape it over the cake. Smooth it with your hands or a fondant smoother to remove air bubbles.
- Trim the excess: Use a sharp knife to trim the fondant around the base of the cake.
Adding Details and Texture
- Ruffles: Roll out fondant, cut into strips, and pleat them for a ruffled skirt effect.
- Lace patterns: Use edible lace molds to create intricate lace patterns and attach them to the cake with a bit of water or edible glue.
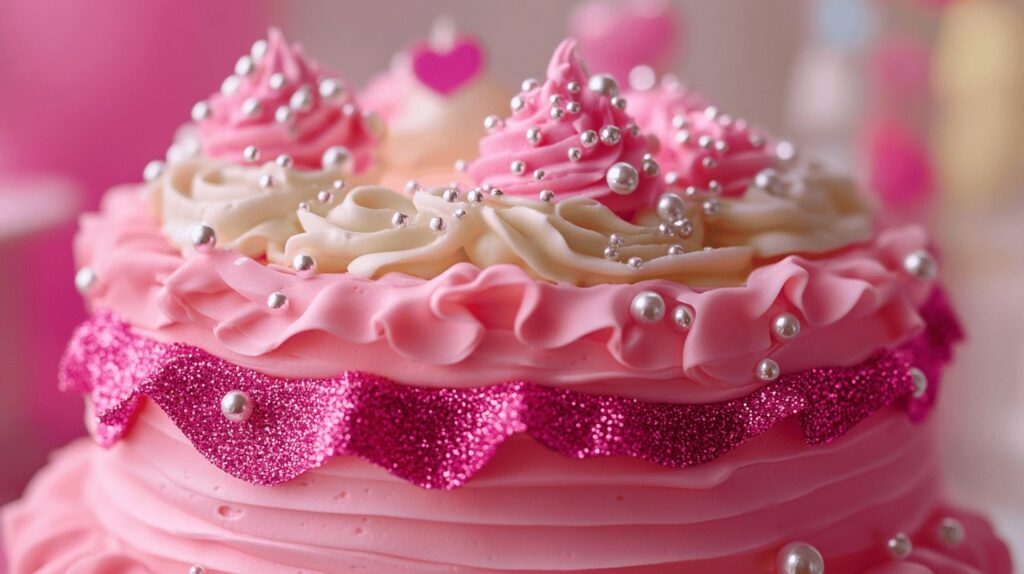
- Pearls and gems: Add edible pearls or sugar gems for a touch of glamour. ✨
Common Problems When Making Barbie Cakes and How to Solve Them

Even the best bakers face challenges. Here’s how to troubleshoot common issues, so your Barbie cake turns out picture-perfect.
Uneven Cake Layers
Problem: The cake layers are lopsided, making the whole cake tilt.
Solution: Always trim your layers with a serrated knife before stacking. Use a cake leveler if needed. To prevent uneven baking, rotate your pans halfway through.
Cracks in the Cake
Problem: The cake has cracks on the surface, making it hard to shape.
Solution: Overmixing the batter or baking at too high a temperature causes cracks. Next time, mix until just combined and bake at the recommended temperature.
“Think of baking like a science experiment—precision makes all the difference!”
Fondant Tears or Smudges
Problem: The fondant tears when you drape it, or it looks smudged.
Solution: Roll out fondant to an even thickness (about 1/8 inch) to avoid tears. To fix smudges, lightly dust the area with cornstarch or powdered sugar.
Tips for Perfect Barbie Cake Assembly
- Chill the cake between steps to make it sturdier.
- Always use a sturdy base board to prevent the cake from collapsing.
- Work in a cool environment to avoid melting frosting or fondant.
Tips for Personalizing Your Barbie Cake
One of the best things about Barbie cakes is how customizable they are. Here’s how you can make your cake truly one-of-a-kind:
Customizing Colors and Patterns
- Match the dress color to the party theme.
- Use edible spray paint for a gradient or ombre effect. 🎨
- Add stripes, polka dots, or floral patterns to the gown.
Incorporating Unique Details for Special Occasions
- For birthdays: Add the name and age of the birthday girl with edible letters.
- For weddings or bridal showers: Use elegant pastel tones and sugar flowers.
- For holidays: Incorporate seasonal elements, like snowflakes for winter or sunflowers for summer.
“Your Barbie cake should tell a story. What’s the occasion? Let that inspire your design!”
Barbie Cakes for Different Occasions
Barbie cakes aren’t just for birthdays—they’re perfect for a variety of celebrations. Let’s explore some ideas!
Barbie Birthday Cakes for Kids
Birthday parties and Barbie cakes go together like peanut butter and jelly. Kids love themes like:
- Princess Barbie: Add a tiara to the doll and edible gold accents.
- Mermaid Barbie: Use shimmering blue and green fondant with seashell details. 🐚
- Superhero Barbie: Dress her in a fondant cape and bright colors.
Barbie Cakes for Weddings and Bridal Showers
For a more sophisticated look, you can create a Barbie cake that mirrors a wedding gown. Use delicate lace patterns, soft pastel colors, and edible flowers to create a romantic vibe.
“A Barbie cake at a bridal shower? It’s like a mini version of the bride herself—absolutely charming!”
Holiday-Themed Barbie Cakes
Who says Barbie cakes are only for birthdays? Dress your Barbie in holiday-inspired outfits:
- Christmas Barbie: Use red and white frosting to create a Santa-themed gown. 🎅
- Halloween Barbie: Decorate with black and orange and add edible cobwebs.
- Spring Barbie: Adorn her dress with sugar daisies and butterflies. 🌼
Where to Find Inspiration for Barbie Cakes
Feeling stuck? Don’t worry—there’s inspiration everywhere! From social media to online tutorials, you can discover countless ideas to make your Barbie cake stand out.
Pinterest and Instagram Ideas
Social media is a treasure trove of creativity. Just search for “Barbie cake ideas,” and you’ll find stunning designs to inspire your own masterpiece.
- Pinterest Boards: Follow cake decorating boards for step-by-step photos and unique themes.
- Instagram Reels: Watch short videos from cake artists showing incredible techniques.
“Sometimes, all you need is a quick scroll to spark a new idea!”
Popular Barbie Cake Tutorials on YouTube
YouTube is like your personal baking school. From beginners to pros, there’s a tutorial for every skill level.
- Beginner tutorials: Learn the basics of stacking and frosting your cake.
- Advanced designs: Master intricate fondant details and edible lace techniques.
- Creative hacks: Discover tricks to simplify the process, like using pre-made fondant or templates.
Frequently Asked Questions About Barbie Cakes
Let’s dive into some more commonly asked questions about Barbie cakes to help you prepare like a pro!
How Much Do You Charge for a Barbie Cake?
The price of a Barbie cake varies depending on its size, complexity, and decorations. On average, custom Barbie cakes can range between $50 and $150 for smaller designs, while highly detailed or themed cakes can cost up to $300 or more.
Here are factors that affect the cost:
- Ingredients and materials: Fondant, edible decorations, and the Barbie doll.
- Customization: Themed cakes with intricate designs tend to be pricier.
- Labor time: The more hours spent decorating, the higher the cost.
If you’re baking for yourself, you can keep costs low by using simple tools and homemade decorations.
Can You Use a Bundt Pan for a Barbie Cake?
Yes, a bundt pan is a fantastic option for making a Barbie cake! Its rounded shape naturally resembles the base of a ball gown, saving time on carving. Here’s how to use it:
- Prepare the pan: Grease and flour the bundt pan to prevent sticking.
- Bake as usual: Follow your recipe’s instructions, but keep an eye on the baking time as it might differ.
- Level the top: Once baked, trim the flat side of the bundt cake so it sits evenly on a surface.
- Add extra layers: If you want a taller skirt, bake additional layers in regular cake pans and stack them below the bundt cake.
“Using a bundt pan is like giving Barbie a pre-made ball gown!” 👗
How Long to Bake a Cake in a Pyrex Bowl?
Baking a cake in a Pyrex bowl is a great alternative if you don’t have a special dome or bundt pan. Here’s what you need to know:
- Temperature: Bake at a slightly lower temperature, around 325°F (160°C), to ensure even baking.
- Time: The baking time will be longer than standard pans, typically around 50–70 minutes, depending on the size of the bowl. Check for doneness by inserting a toothpick into the center—it should come out clean.
- Preparation: Grease the bowl thoroughly and dust it with flour or use parchment paper to prevent sticking.
Pro Tip: Place the Pyrex bowl on a baking sheet for added stability in the oven.
How to Put a Doll in a Dolly Varden Cake?
Placing the doll in a Dolly Varden cake is the final step, and it’s easier than you think! Here’s a simple guide:
- Wrap the doll: Cover the doll’s legs in plastic wrap or aluminum foil to protect it from frosting or cake crumbs.
- Insert a support: If the cake is tall, insert a dowel or straw into the center for extra stability before adding the doll.
- Create an opening: Use a serrated knife to cut a small hole in the top of the cake, just wide enough for the doll’s legs.
- Place the doll: Gently insert the doll into the cake. Ensure it’s centered and secure.
- Adjust the frosting: Smooth out the frosting around the doll’s waist to blend it seamlessly with the gown.
“Think of the doll as stepping into her edible gown—magical and delicious!” ✨
Related Posts to Explore
Before wrapping up, check out these exciting related articles for more baking inspiration and tips:
- How to Make the Perfect Barbie Cake for Any Occasion – A comprehensive guide with creative ideas to take your Barbie cake to the next level.
- Master the Best Southern Cornbread Recipe Today – Looking for the perfect side to pair with your cakes? Explore this easy and delicious recipe.
- The Ultimate Guide to Dubai Chocolate Creations – Add a touch of luxury to your dessert table with these decadent chocolate recipes.
These links will guide you to even more delightful ideas for your kitchen adventures!
Conclusion: Why a Barbie Cake is the Perfect Choice
Making a Barbie cake is more than just baking—it’s an adventure in creativity and craftsmanship. Whether it’s for a child’s birthday, a bridal shower, or a festive holiday, a Barbie cake brings smiles and adds a magical touch to any celebration. 🎉
Remember, the best part isn’t just the end result—it’s the journey of making something special for your loved ones. So grab your tools, unleash your inner artist, and let Barbie’s dress be your canvas!
“Every Barbie cake tells a story—what’s yours going to say?”

